General#
copier templates#
For projects different copier templates are provided. Usage is mandatory. For the installation of copier, refer to the official documentation.
Existing templates are:
Whether you want to create a new project using a template or want to issue a new template, refer to the coding guidelines for your respective language.
Documentation#
Documentation is mandatory and missing documentation embarassing.
The layout for documentation is provided by our copier documentation template.
It is automatically included by all other templates.
The respective content is located in the docs subfolder.
Documentation is generated using sphinx. We use pipenv to manage the required tools to build the documentation and provide language server support for VSCode. pipenv can be installed with the following command:
pip install --user pipenv
The Pipfile to install the required packages is provided with the copier template for documentation and therefore in the docs folder of your project.
You need to create the virtual python environment like so:
cd docs
# if you want the esbonio LSP for the reStructuredText VSCode extension
pipenv sync --dev
# otherwise just
pipenv sync
Afterwards you can build the documentation using the commandline tools:
cd docs
pipenv run sphinx-build . ./build
The documentation is generated as ./docs/build/index.html respectively.
The reStructuredText VSCode extension in conjunction with the MS Python VSCode extension can be used to provide language support for .rst files.
First you need to connect the extensions to the previously created virtual environment which can be achieved by opening conf.py and selecting the appropriate Python interpreter in the status bar.
Now you can click on the Use docutils entry in the status bar and set the conf.py from the docs folder as the sphinx config to be used.
When using more than one programming language in your project, be sure to include the respective domain in the conf.py script.
Version control#
git has to be used for all projects.
The master (or main) branch has to pass all tests at all times.
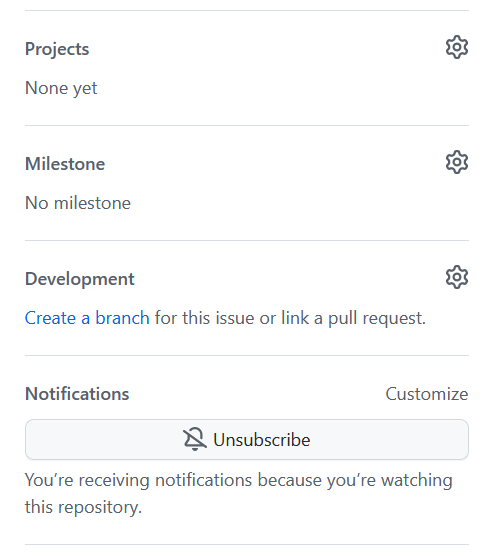
To make changes first create an issue in the respective github repository. Create a branch using the respective: Create a branch for this issue or link a pull request. button.

Prepend dev/ for your branch name.
So for example dev/1-first_issue would be a valid branch name.
For branches consisting of many issues create an issue epic.
Refer to GitHub Issue templates for more information.
Note
GitHub Issue templates are automatically generated using copier for your project.
Refer to the guidelines for tests for your respective language.
Warning
Every commit has to come with sufficient test coverage.
You may push wip/<author_name>/<issue_id>-<description> style branches for work in progress commits.
Do not forget to delete your wip branch as soon as it becomes outdated.
Commit messages should be structured according to the Conventional Commits standard with the angular type list. Always follow the seven rules of a great Git commit message:
Separate subject from body with a blank line
Limit the subject line to about 50 characters
Capitalize the subject line
Do not end the subject line with a period
Use the imperative mood in the subject line
Wrap the body at 72 characters
Use the body to explain the motivitation and constraints of the change